How to set up Verified e-Transfer Emails
Verify the email your bank sends Interac e-Transfers from, and every payment you send us from it is deposited to your RemitBee account automatically.
What are Verified e-Transfer Emails?
When you pay RemitBee by e-Transfer, we use your sending email to recognize that the payment is yours. Your RemitBee account email is already verified — if your bank sends from a different email, add and verify it once (you can add more than one).
Good to know: This is the email you use for Interac e-Transfers — the same one you'd give a friend to send you money. It isn't always the same as your RemitBee login email.
How to set it up
You add and verify your email during a transfer. When you pay by e-Transfer, follow these steps.
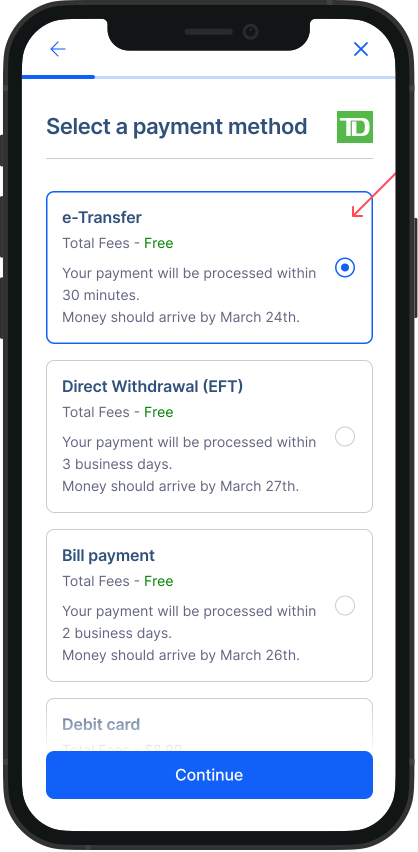
- Start a transfer: Sign in to RemitBee, tap Send Money, set up your transfer, and select e-Transfer as your payment method.
- Check your e-Transfer email: You'll see the emails we recognise for e-Transfers. Your RemitBee account email is already verified. If the email your bank sends e-Transfers from is listed, tap Continue. If it isn't there, add it in the next step.
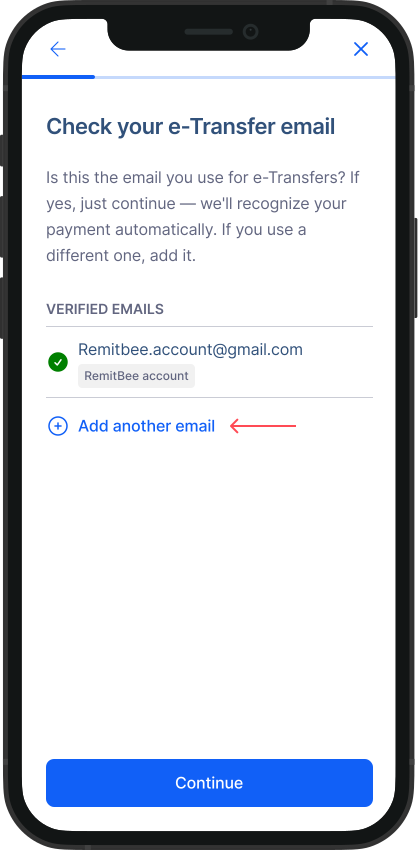
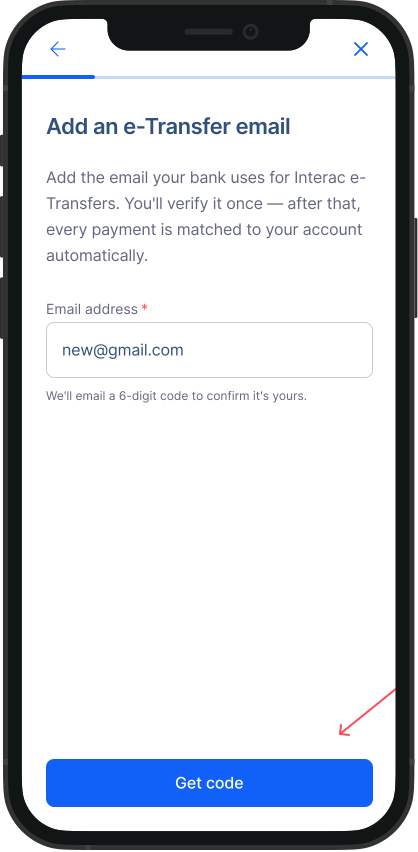
- Add your banking email: Tap Add another email, enter the email your bank sends e-Transfers from, and tap Get code.
- Enter your code: We'll email a 6-digit code to the email address you provided. Enter it in the app and tap Verify email. Repeat for any other banking emails you use.
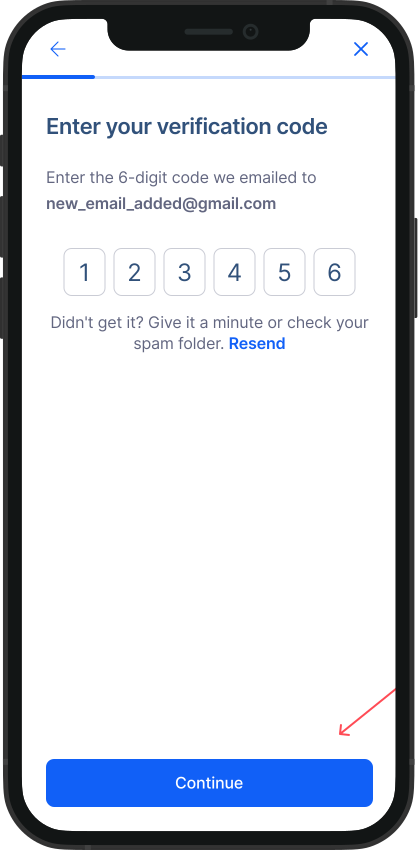
Note: The code can take a minute to arrive. If you don't see it, check your spam folder or tap Resend.
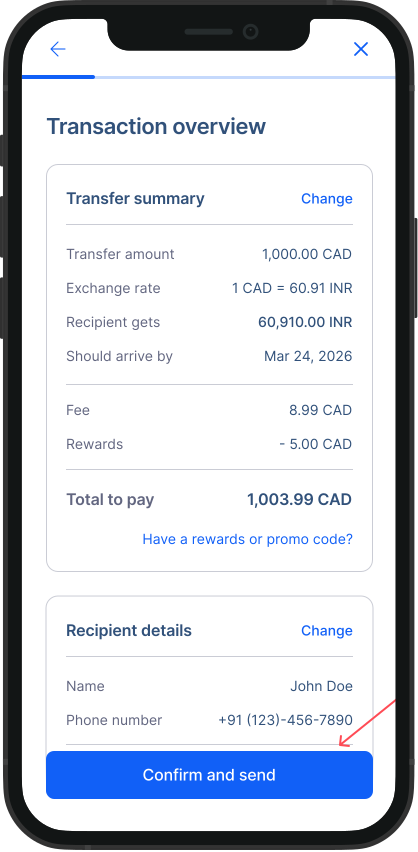
- Review and confirm: Check your transfer details and tap Confirm.
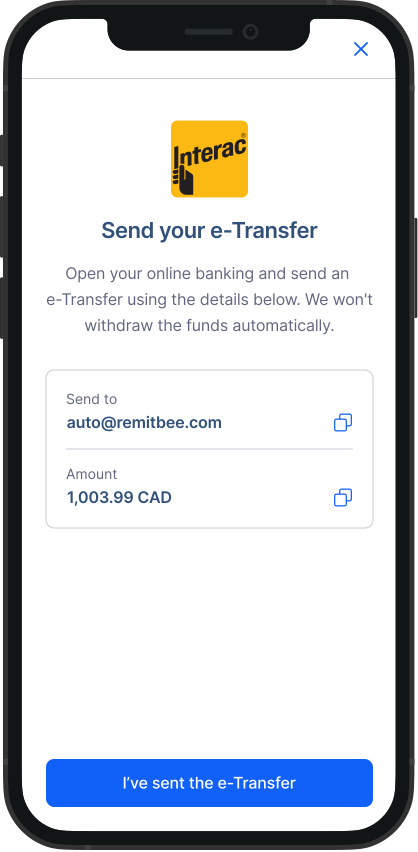
- Send your e-Transfer: Open your online banking and send an Interac e-Transfer for the exact amount — to [email protected] for personal accounts, or [email protected] for business accounts. Send it from one of your verified emails and we'll deposit it to your account automatically.
Important: The money must come from your own bank account, in your name. Payments from anyone else — even family or friends — won't be accepted.
We usually receive e-Transfers within 15 minutes. As soon as your payment arrives, we'll start your transfer and keep you updated at every step.
Congratulations! You've set up your Verified e-Transfer Email. The next time you pay from that address, we'll recognise it automatically.
How to manage your verified emails
You can add or remove verified emails any time during a transfer, once e-Transfer is selected as your payment method.
- To add an email: Tap Add another email, enter it, and verify it with the 6-digit code we send.
- To remove an email: Tap the × next to the email you want to remove.
Important: If you remove a verified email and then send an e-Transfer from it, we won't recognise the payment automatically, and your transfer may be delayed.